Quick Answer
If your power bank is not charging your phone, first stop using visibly damaged or otherwise concerning equipment. For an intact setup, confirm the bank has charge and you are using a supported output. Then check one cable, connection or device condition at a time. Compare with a known-working compatible charger before concluding that the bank is defective.
Introduction
A power bank not charging your phone does not identify the faulty part by itself. The bank, cable, phone and operating conditions form one charging setup. This checklist helps you isolate the problem without opening equipment. It also explains what evidence helps customer support and purchasing decisions.
1. Stop If The Equipment Shows Damage
You should stop troubleshooting with equipment that is damaged or showing concerning behavior.
Inspect the outside before reconnecting anything. Look for broken connectors, damaged cables, a deformed housing or other visible changes. Unusual odor or excessive heating also calls for stopping use and following the manufacturer’s support instructions. Do not keep repeating connections to force a result.
Apple’s iPhone charging troubleshooting guide advises checking accessories for damage and not using damaged accessories. That is a useful starting boundary, not a diagnosis of your particular bank. Follow the bank’s instructions as well as the phone manufacturer’s guidance.
Do not open the battery housing, bypass protection or bridge connector contacts. This article covers external connection checks, not battery repair. Keep safety concerns separate from ordinary compatibility questions. If safe handling or disposal is uncertain, seek the manufacturer’s appropriate support rather than improvising a repair or charging workaround.
2. Identify Which Device Is Failing To Charge
You should distinguish the bank failing to charge your phone from the bank failing to recharge itself.
Write down the direction of power you expect. A phone connected to a bank output is one arrangement. A wall adapter connected to the bank input is another. Some connectors support both roles, while others do not. Use the actual model’s labels and manual to identify them.
A working input does not prove every output works. Likewise, a lit display does not establish successful delivery to the phone. Record what each device actually shows. Separate no charging icon, an accessory warning, repeated interruptions and a percentage that stays unchanged.
This distinction prevents unrelated fixes. Buying a stronger wall adapter may not resolve a phone-output problem. Changing a phone case may not resolve the bank’s input issue. Our power-bank recharge guide covers input-side conditions. Keep the current investigation focused on the direction that is failing.
3. Confirm Charge And Normal Activation
You should confirm the bank’s available charge and normal output activation using its documented controls.
Read the battery indicators according to the manual. Different models use different displays and button behaviors. Do not assume that holding a button performs a universal reset. Nor should you copy a reset sequence from an unrelated product. Use only instructions that apply to your model.
If the bank needs recharging, use a compatible input arrangement and follow its instructions. Then evaluate the phone connection separately. Do not introduce simultaneous input and output unless that mode is explicitly supported. It adds another condition and can obscure the original symptom.
Record the bank’s indicated state before and after the check. A percentage estimate or several LEDs do not directly prove available delivered energy. However, noting their behavior can help support interpret the problem. Our display guide explains why an indicator alone cannot diagnose the complete charging path.
4. Simplify The Cable Connection
You should begin with a direct, supported cable connection and change only one component at a time.
Remove unnecessary hubs, adapters and extension cables from the comparison. Confirm the connectors seat normally without force. A thick phone case can obstruct access even when the plug appears close to the socket. Inspect externally and follow the phone maker’s instructions for any port concern.
Do not scrape contacts with metal tools or add cleaning liquid as an improvised fix. If debris or damage prevents a normal connection, use the manufacturer’s approved guidance or service. Repeatedly pushing a poor connection does not establish compatibility and can make the situation worse.
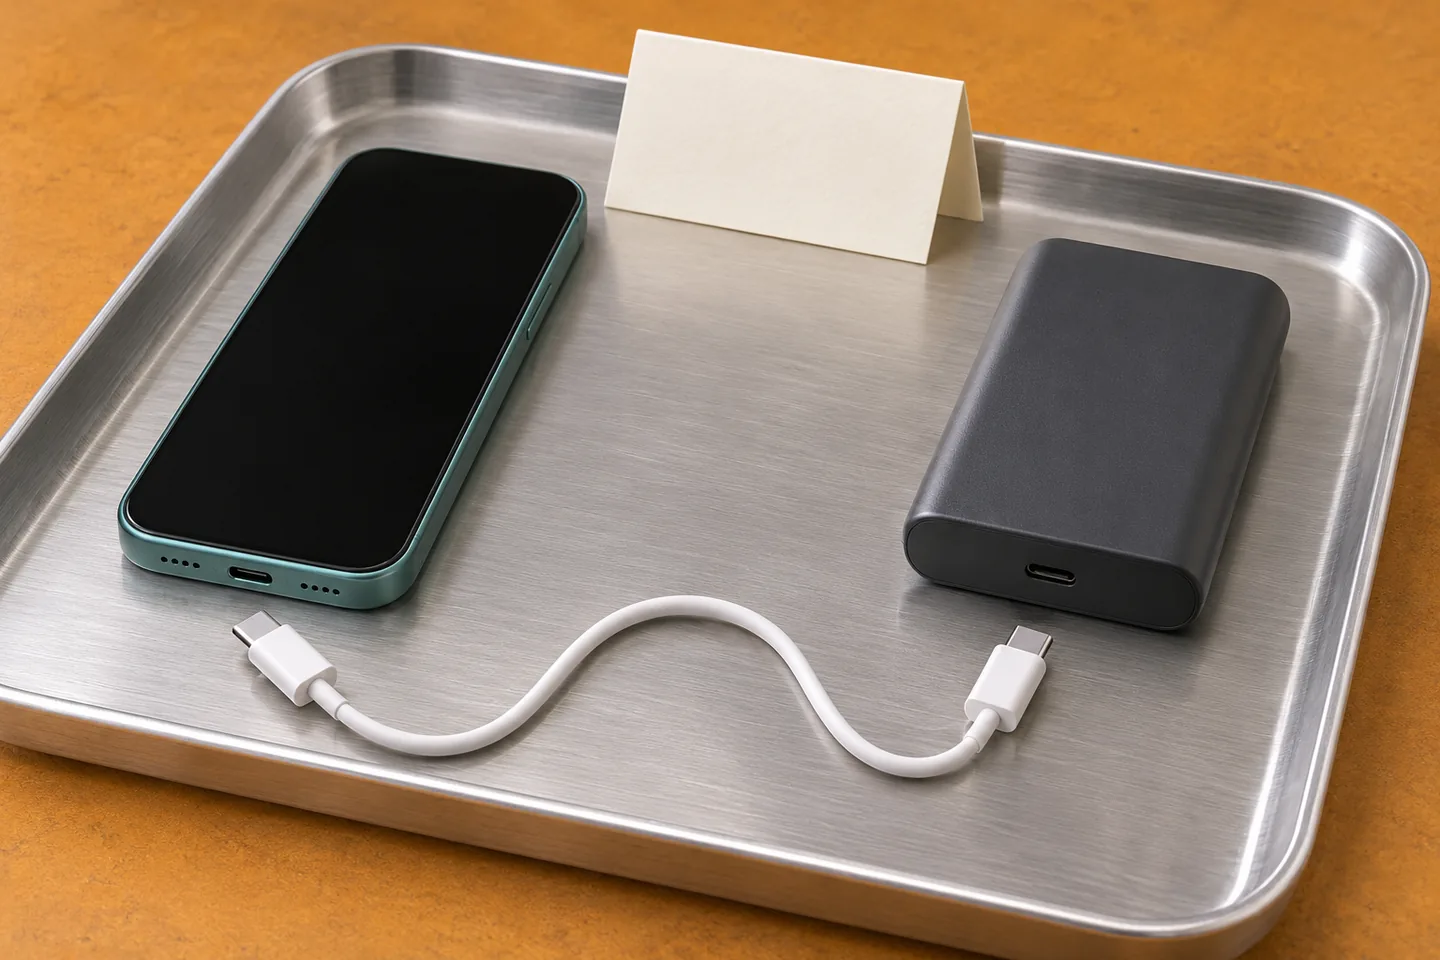
Try an intact, known-working cable suitable for the required arrangement. USB-IF explains that cables have different capabilities. Appearance, thickness or a matching connector is insufficient evidence. Cable certification also does not extend the capabilities or certification of connected products. Keep the tested cable identifiable in your notes.
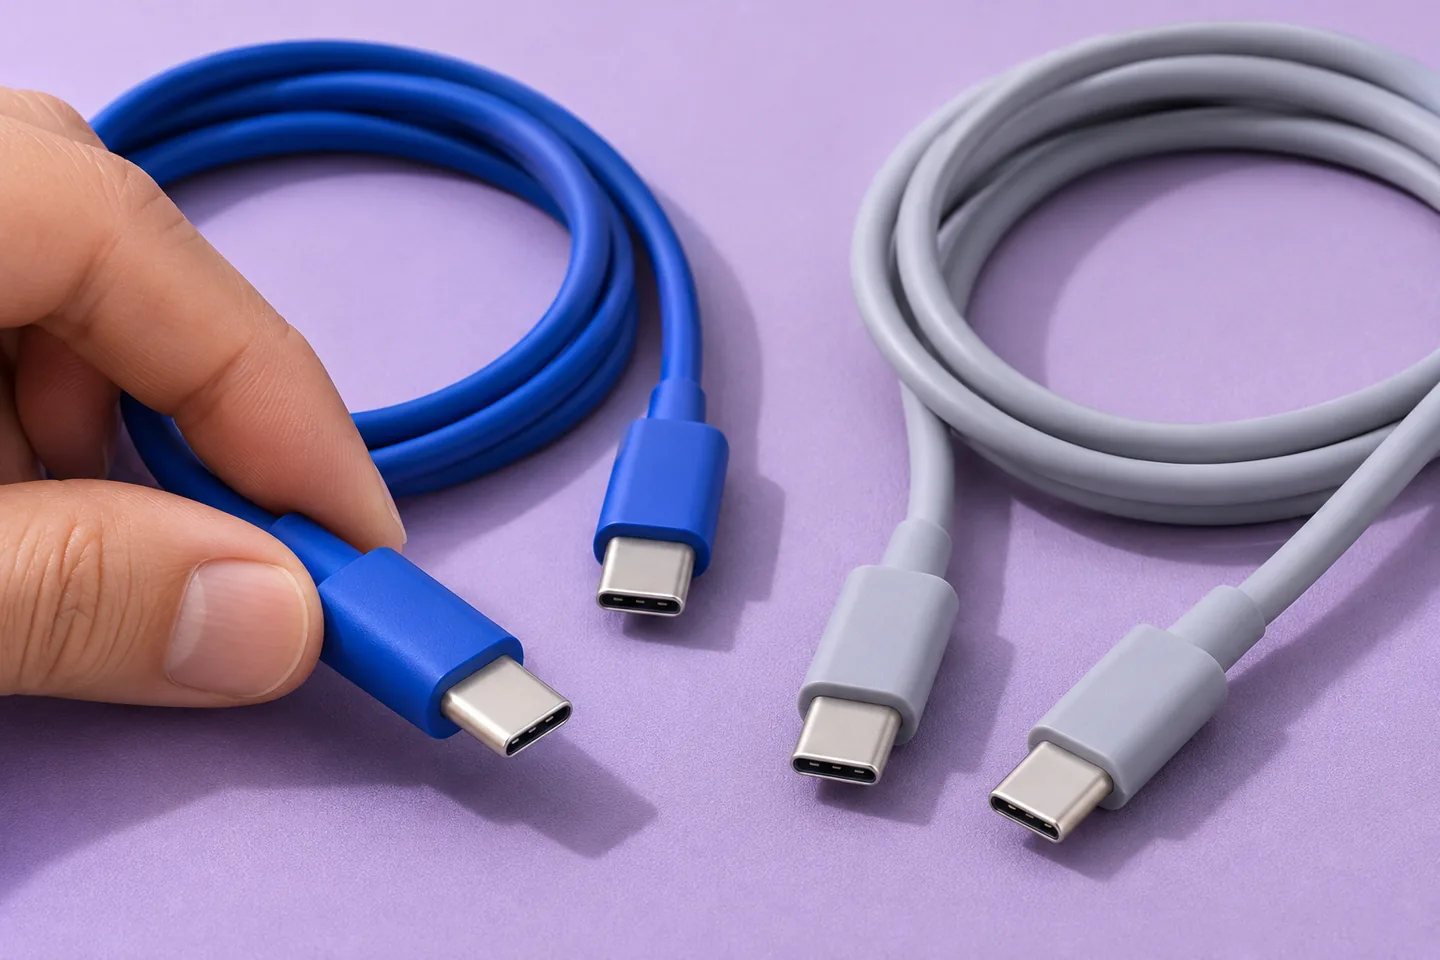
AI-generated cable-selection concept; no actual fault, cable rating or diagnostic measurement is demonstrated.
5. Check Compatibility Before Chasing Maximum Watts
You should compare the phone’s accepted charging method with the exact output you are using.
A bank’s highest printed wattage may refer to another connector or operating condition. It does not mean every phone accepts that mode. Check voltage and current profiles, protocol support and the supplied cable. Distinguish basic charging from the phone’s particular fast-charge expectations.
| Observed Symptom | Check Next | What It Does Not Prove |
|---|---|---|
| No phone charging indication | Bank state, output and direct cable | The bank is necessarily defective |
| Unsupported-accessory message | Exact cable and device guidance | A larger wattage will fix it |
| Charging repeatedly disconnects | Connector seating and one cable substitution | Battery chemistry is the cause |
| Icon appears but percentage is steady | Workload and observation conditions | No energy is being supplied |
| Wired works, wireless does not | Wireless support, case and placement | Every output has failed |
| Only one device combination fails | Documented profiles and shared limits | The entire product family is incompatible |
Google’s Pixel charging troubleshooting guidance includes checking connections and trying another suitable cable or adapter. Apply model-specific guidance to that phone, rather than generalizing every requirement. Keep a compatibility mismatch separate from a confirmed hardware fault.
6. Isolate Wireless Placement From Wired Output
You should investigate wireless charging as its own supported arrangement rather than using magnetic attachment as proof of charging.
Confirm that the exact phone supports wireless reception. A magnetic case alone does not add that capability. Position the phone as the bank’s instructions require and confirm any activation step. Check for accessories, case thickness or camera clearance that interfere with the intended contact arrangement.
Remove the case only when doing so follows the relevant instructions and helps isolate the variable. Do not place cards or other inappropriate objects between charging surfaces. Our case compatibility guide explains the fit questions. Follow the product instructions for suitable placement and operating conditions.
If a supported wired connection works, record that result separately. It narrows the observation to particular paths; it does not certify all functions. Do not turn magnetic attachment or a listed wireless wattage into a Qi2 or MagSafe certification claim. Ask for exact-product evidence when certification wording matters.
7. Treat Small Accessories As A Different Load
You should separate a phone-charging problem from a bank switching off with a small accessory.
An earbud case or other low-demand device can create different behavior from a phone. Some banks provide a documented low-current mode, while others may not. Confirm whether your actual model supports such a mode and how it operates. Do not prescribe a universal double-press or button-hold sequence.
Observe the accessory’s charge progress rather than only the bank indicator. A full accessory may draw little power, and its status light may have its own meaning. Use its manual to interpret that behavior. Our earbud charging guide covers this narrower question.
Do not add an improvised load or bridge contacts to keep an output active. If an intended accessory is unsupported, ask for an appropriate documented configuration. For a mixed-device retail bundle, include each target device in sample review. Passing a phone check does not establish support for every small accessory.
8. Check Phone State And Charging Pauses
You should read phone messages and manufacturer guidance before treating every pause as a power-bank failure.
A phone’s temperature management, selected charge limit or charging optimization can affect progress. Apple’s cited guide explains several iPhone situations where charging stops near a chosen level. That is device-specific behavior, not evidence that any bank is working correctly. Read the actual message and relevant settings.
A completely discharged phone can also behave differently from an active one. Google’s cited Pixel guide explains that a depleted phone may initially show little response. Follow the exact phone’s recommended waiting and service steps. Do not replace model-specific timings with a universal claim about all phones.
Reduce an unnecessary workload when making a controlled comparison and document that change. Video recording or other active use consumes energy during charging. A stable percentage is not the same observation as no connection. Follow the manufacturer’s restart instructions if appropriate; avoid inventing a force-restart sequence for an unknown phone.
9. Compare With A Known-Working Compatible Setup
You should use controlled substitutions to narrow the problem without treating one result as a complete diagnosis.
If the equipment is intact, try the phone with a compatible known-working charger and cable. Then compare the bank using the identified suitable cable and supported output. Where appropriate, try another compatible device. Change one element, record the result and restore a clear baseline before the next comparison.
If the phone also fails with its known-working arrangement, phone-side support becomes relevant. If a cable substitution resolves the symptom, record that specific improvement. If only one bank output fails, identify that output rather than declaring every feature defective. These observations guide support; they do not prove the internal cause.
Do not use unsupported adapters to make a comparison possible. Nor should you assume a cable works for every profile because it worked once elsewhere. Document actual combinations. A repeatable symptom is more useful than several uncontrolled changes followed by a vague statement that charging sometimes works.
AI-generated support-record concept; not a real product label, service record or inspection result.
10. Prepare Useful Evidence For Support
You should send a concise configuration record and reproducible symptom when the external checks do not resolve the problem.
Include the bank model and revision if known, phone model, software version and case. Identify cable, connector, starting indicators and the direction of power. State whether the issue concerns wired, wireless or simultaneous operation. Quote any message accurately rather than paraphrasing it as a certification verdict.
List the intact, supported substitutions you tried and their outcomes. A short video can show connection changes if it can be recorded safely. Keep personal information out of shared screenshots. Follow the seller’s service instructions for any return or further check, especially when equipment condition is concerning.
Do not promise a replacement, warranty outcome or repair time without the applicable agreement. Support needs the actual order and product details. Avoid discarding packaging or relevant records before receiving instructions. Clear evidence can reduce repeated questions, while an unsupported internal diagnosis can send the investigation in the wrong direction.
11. Build The Checks Into Purchasing Approval
You should convert intended device combinations into agreed sample checks before approving a bulk or private-label order.
Define target phones, cables, cases and output modes in the brief. Ask for the current specification and instructions for the exact supplied configuration. Keep battery family separate from charging compatibility. An all-solid-state, semi-solid-state or lithium-polymer label alone cannot establish the required protocol or connector behavior.
Our sample confirmation page describes the wider review stage. These are proposed purchasing checks, not claims about existing ZONNGOO test results. Agree on acceptance criteria and review changes affecting cables, firmware or product revision. Keep customer-facing instructions aligned with the approved configuration.
Review the current product range and discuss OEM/ODM requirements using your device list, market and quantity. For an unresolved setup, contact ZONNGOO with the configuration record. Request the applicable documentation and next supported step rather than guessing from a power headline or product photograph.
FAQ
Does No Charging Icon Mean The Power Bank Is Broken?
Not by itself. Confirm bank state, supported output, cable and phone behavior. A deeply depleted phone may need its manufacturer’s prescribed charging steps. Use controlled comparisons before drawing conclusions.
Should I Hold The Bank Button To Reset It?
Only use the exact model’s documented controls. Button functions vary. Do not copy an unrelated reset sequence or bypass protection to force charging.
Why Does My Phone Show Charging Without Gaining Percentage?
The phone may be consuming energy while charging or managing its battery state. Record workload, settings and messages. Compare over an appropriate observation period. The icon alone cannot quantify battery gain.
Can A Different USB-C Cable Solve The Problem?
It can help isolate a cable issue if it is intact and suitable. Use one known-working replacement at a time. A connector that fits does not establish every required capability.
What If Wireless Fails But The Cable Works?
Check wireless reception, activation, case and placement separately. A working wired path does not prove wireless compatibility. Record the exact combination and ask for the relevant instructions.
When Should I Stop External Troubleshooting?
Stop for damage or concerning behavior. Also seek support when documented, intact comparisons do not resolve the symptom. Do not open the housing, improvise repairs or repeatedly force connectors.
Conclusion
Check condition first, then isolate bank state, output, cable and phone behavior one at a time. Follow exact-device instructions and record controlled comparisons. If the problem remains, send the configuration and symptom to support. Approve retail combinations through documented sample checks rather than assumptions.